Address: Jhotwara Ind. Area, Jaipur, Rajasthan
title icon
Perfect Look For Your Home

Microtopping Flooring

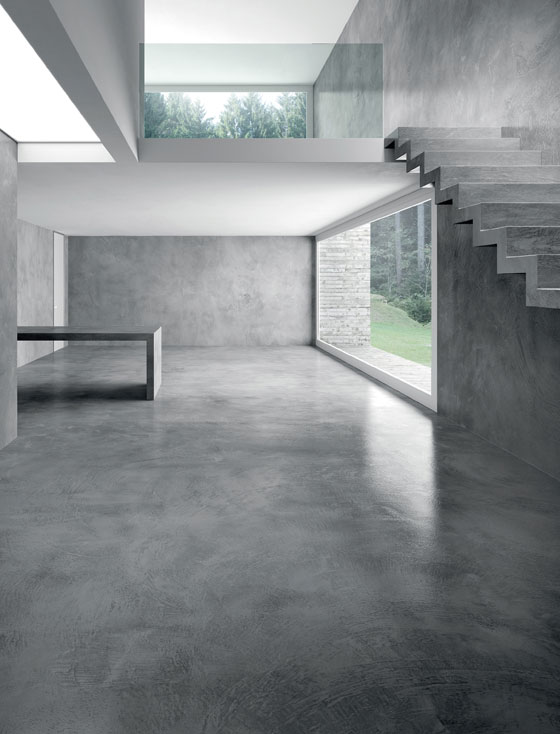
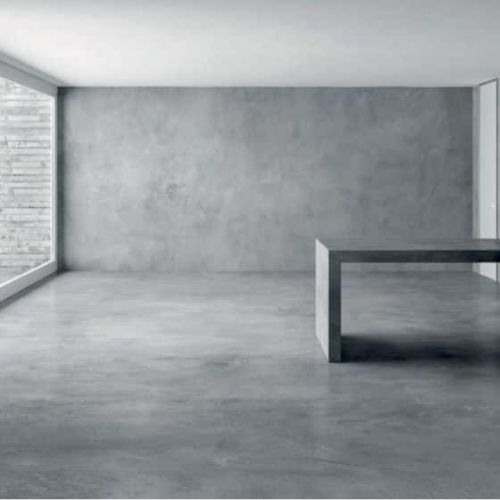
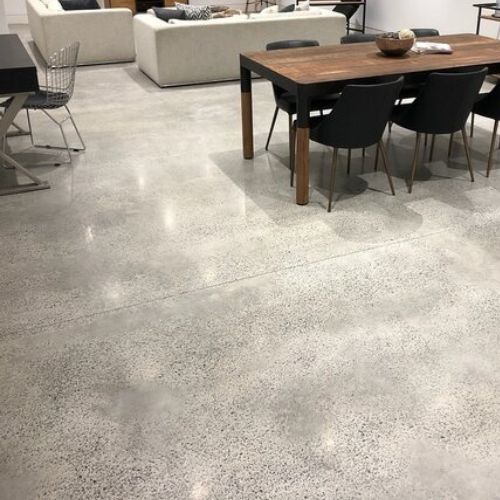
Microtopping flooring achieves an excellent compressive and tensile strength and ideally suitable for resurfacing and providing decorative, rustic top surface that can be polished to provide a dense, satin-finish surface. It can be applied in floors as well as walls to provide a homogenous space with light, depth and harmony.

A selection of sealers provide slip and chemical resistance, easy maintenance, a variation of gloss levels, protection, and many other multipurpose uses.

Types:

  1. Natural Microtopping
  2. Colorful Microtopping
  3. Stone Microtopping
Technical Details of Microtopping Flooring
  • Composition: Typically composed of cement, aggregates (such as silica or quartz), polymers, and additives that enhance adhesion, flexibility, and durability.
  • Thickness: Applied in thin layers ranging from 2 to 3 millimeters, ensuring minimal elevation changes and compatibility with existing surfaces.
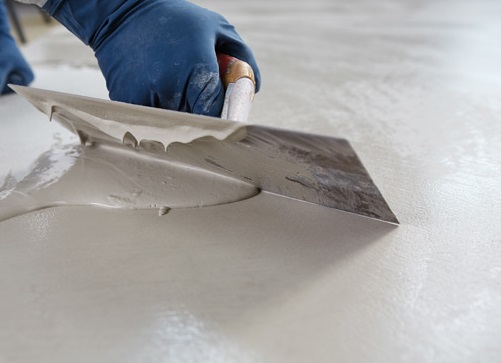
  • Application Method: Applied by skilled craftsmen using trowels, rollers, or brushes. Each layer is meticulously applied and finished to achieve the desired texture and appearance.
  • Curing Time: Requires approximately 7 to 14 days for full curing, depending on environmental conditions. Proper curing ensures strength and longevity of the Microtopping surface.
title icon
Microtopping Flooring Texture

Characteristics

Seamless Finish: Creates a smooth and continuous surface without grout lines or seams, enhancing visual appeal and ease of maintenance.

Customizable Design: Available in a variety of colors, textures, and finishes. Can be further enhanced with stains, dyes, or stencils to create unique patterns and designs.

Durability: Offers exceptional resistance to wear, abrasion, and impact. Suitable for high-traffic areas in residential, commercial, and industrial settings.

Versatility: Adheres well to different substrates, including concrete, tile, wood, and existing flooring. Can be used indoors or outdoors, on floors, walls, or even countertops.

Low Maintenance: Requires minimal upkeep due to its non-porous surface. Easy to clean with regular sweeping and occasional damp mopping.

Environmentally Friendly: Many Microtopping products are formulated with low VOCs (Volatile Organic Compounds), contributing to healthier indoor air quality.

Fast Installation: Compared to traditional flooring options, Microtopping installation is relatively quick and causes minimal disruption to daily activities.

Microtopping Limewash 11
Microtopping Limewash 8
Microtopping Limewash 6

The Vista Microtopping Flooring Texture is a premium surface solution that transforms your floors into a sleek, modern masterpiece. This seamless and durable finish provides a minimalist aesthetic, perfect for contemporary interiors seeking a sophisticated touch.

title icon
Microtopping Flooring

Application Method

Creating a stencil limewash texture involves careful planning and execution to achieve the desired effect. Here’s a step-by-step guide:

Surface Preparation: Ensure the surface is clean, dry, and free of dust, dirt, or grease. Any imperfections should be repaired, and the surface should be smooth to ensure the best results for both limewash and stenciling.

Applying Base Limewash:

Mixing: Prepare the limewash according to the manufacturer’s instructions. For a smooth base, a thinner consistency is often preferred.

Application: Use a brush, roller, or sprayer to apply the limewash evenly over the surface. Multiple thin coats are recommended, allowing each coat to dry completely before applying the next. This builds up a solid base color and ensures a smooth finish.

Stenciling Process:

Selecting a Stencil: Choose a stencil pattern that complements the design theme of the space. Stencils can be purchased or custom-made.

Positioning the Stencil: Secure the stencil to the surface using painter’s tape or a stencil adhesive to prevent it from moving during application. Ensure it is positioned correctly and level.

Applying the Stencil Design:

Paint Application: Use a stippling brush, sponge, or roller to apply the limewash or a different paint color over the stencil. For limewash, use a slightly thicker consistency to prevent bleeding under the stencil.

Technique: Dab or roll the paint gently over the stencil, ensuring even coverage without applying too much pressure, which can cause bleeding.

Removing the Stencil: Carefully remove the stencil while the paint is still wet to avoid smudging. Allow the stenciled design to dry completely before proceeding.

Microtopping Limewash 6
Microtopping Limewash 3
Microtopping Limewash 2

COLOR RANGE OPTIONS:

15+ Years of Experiences for Give You Better Results.

At Vista Paints, our 15+ years of experience ensure superior results for every project. Trust our expertise to bring lasting beauty and quality to your home or business. Discover the difference experience makes with Vista Paints today!

title icon
Vista Limewash

Why Choose Us

State-of-the-Art Facilities 85%
Quality Assurance 99%
Customer Satisfaction 90%
On-Time Delivery 97%
Project Done 76%
Superior Quality and Durability

Vista Lime Texture is made from the finest quality lime and natural minerals, ensuring a durable and long-lasting finish. Its inherent flexibility prevents cracking and peeling, making it a reliable choice for both interior and exterior applications.

Eco-Friendly Solution

Composed of natural and non-toxic ingredients, Vista Lime Texture contributes to a healthier living environment. The production process of lime plaster is more environmentally friendly compared to cement-based products, reducing overall carbon emissions.

Expert Support and Service

Our team of experts provides comprehensive support, from initial consultation to project completion, ensuring optimal results. We work closely with architects, designers, and contractors to deliver customized texture solutions that meet specific project needs.